
How to Verify a Facebook Business Manager
Business verification is foundational — it unlocks features and is a trust signal that keeps you out of the restriction queue. Here's exactly what you need, the steps, why consistency makes or breaks it, and when it's easier to skip the climb.
To verify a Facebook Business Manager, open Business settings → Security Center, enter your legal business name, address and phone exactly as they appear on official records, submit a verifying document (license, utility bill, etc.), and complete confirmation. Review usually takes a few days. Almost every rejection is caused by a mismatch — fix the specific detail and resubmit.
What business verification is — and why it matters
Business verification is Meta confirming that your Business Manager belongs to a real, identifiable business. It unlocks capabilities (more advanced features, certain access, stronger standing) and, just as importantly, it's a trust signal: a verified business is treated as more legitimate and is less likely to hit certain restrictions. If your Business Manager is restricted, incomplete verification is one of the most common causes — so getting this right is foundational, not optional, and it's a quiet part of how you prevent bans in the first place.
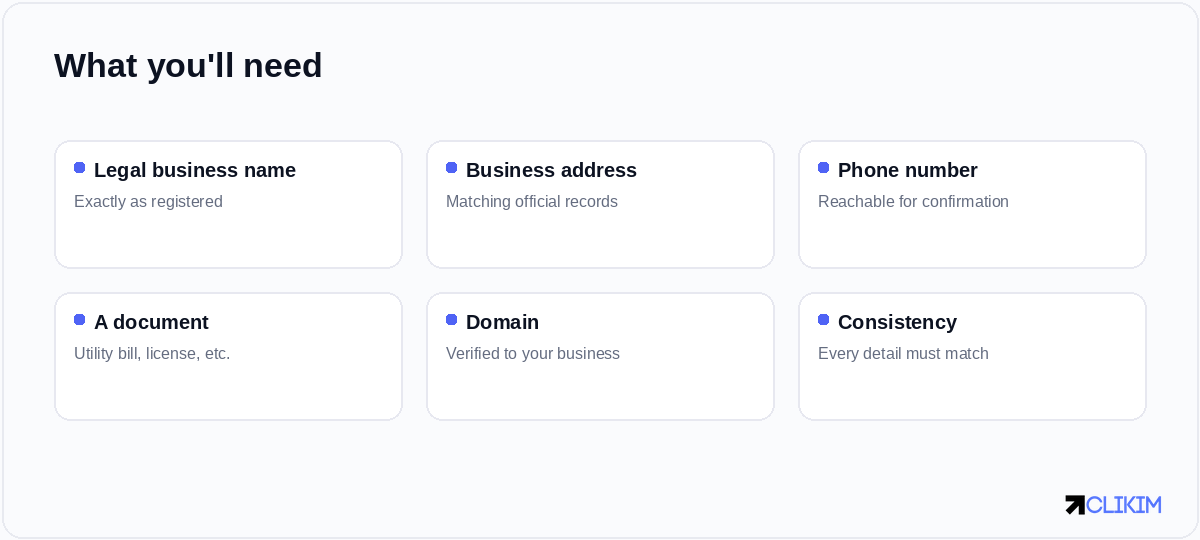
Verification is mostly about consistency — every detail must match your official business records.
What you'll need
The single most important principle is consistency: the details you enter must match your official records exactly. Gather these before you start:
- Your legal business name, exactly as registered.
- Your registered business address.
- A business phone number that can receive a confirmation.
- A verifying document — depending on your region, a business license, utility bill, certificate of incorporation, or similar.
- A verified domain tied to the business.
How to verify, step by step
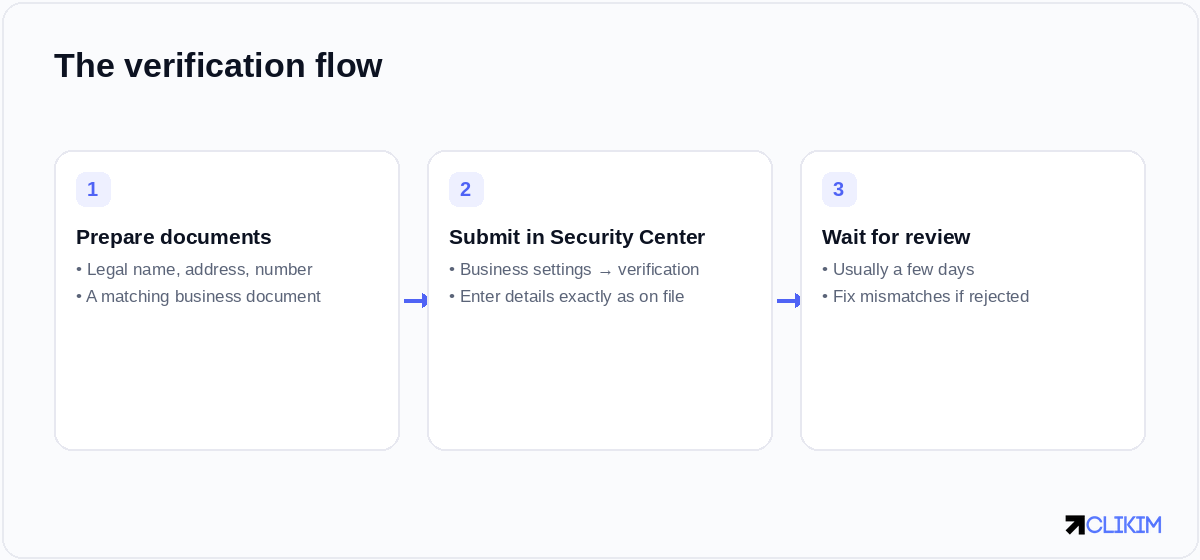
Prepare matching documents, submit in the Security Center, then wait for review — fix mismatches if rejected.
- Open Business settings → Security Center and start business verification.
- Enter your details exactly as they appear on official records. A comma or abbreviation that doesn't match is a common reason for rejection.
- Submit your document and confirm contact. Upload the verifying document and complete any phone or email confirmation.
- Wait for review. It typically takes a few days. If rejected, the reason is almost always a mismatch — correct it and resubmit.
Common reasons verification is rejected
Almost every rejection comes down to inconsistency or unclear documentation:
- The name or address entered doesn't exactly match the document.
- The document is expired, low-quality, or doesn't show the business name clearly.
- The phone number can't be reached for confirmation.
- The business isn't publicly findable, with no matching domain or footprint.
Fix the specific mismatch rather than resubmitting the same thing and hoping. Clean, consistent, legible details pass — sloppy ones loop.
After verification
Once verified, keep your details current — a later change that creates a mismatch can cause problems down the line. Verification is one pillar of account trust; the others are clean creative, stable payments and secure access. Together they're what keep you out of the restriction queue, and they're the same fundamentals behind not getting repeatedly banned.
When it's easier to skip the climb
Verification is worth doing — but it's only one part of building an account up from zero trust, alongside warm-up, clean history and a track record of spend. If you'd rather not build all of that from scratch, running on managed whitelisted infrastructure issued from an already-verified, high-trust BM2500 skips much of the climb. You still benefit from verifying your own Business Manager, but the account you advertise on already carries the standing — see how to get one.
Frequently asked questions
How do I verify my Facebook Business Manager?+
What documents do I need for business verification?+
Why does my business verification keep getting rejected?+
How long does Facebook business verification take?+
Do I need business verification to run ads?+
Can I avoid verifying my own business?+
Don't want to build trust from scratch?
Run on managed whitelisted infrastructure under an already-verified, high-trust BM2500 — set up in about an hour, with a dedicated rep.